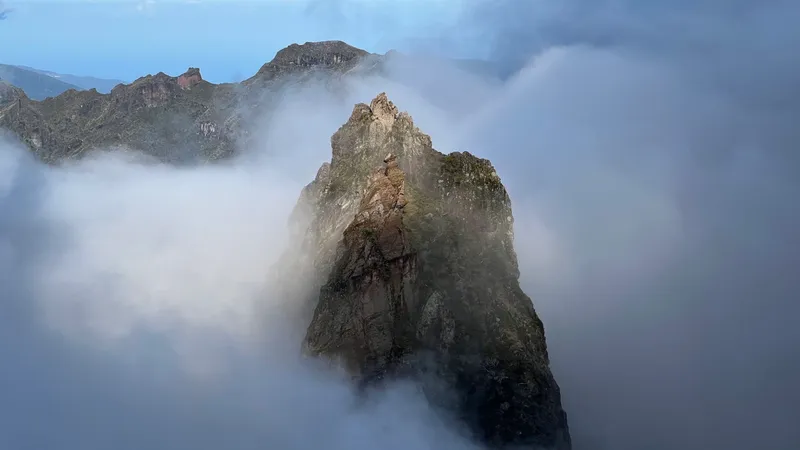
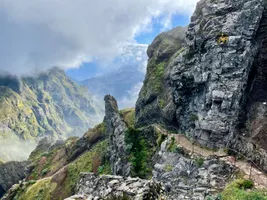
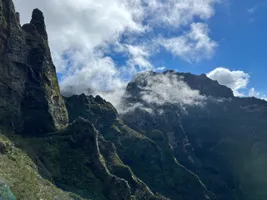
If there’s only one hike that you can do on Madeira, then this should be it (if you are properly prepared for it). With jaw-dropping landscapes, the PR1 hike makes it to the top of our hiking preferences on this Portuguese island.
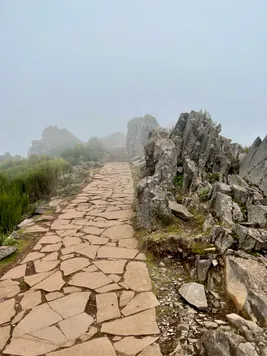
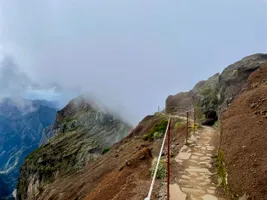
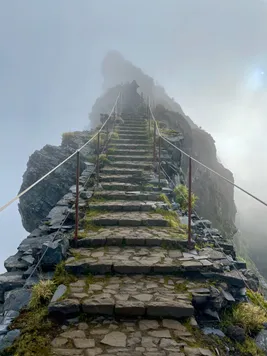
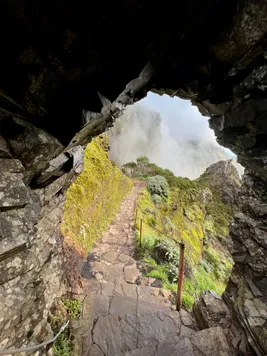
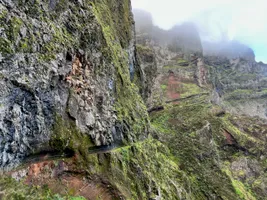
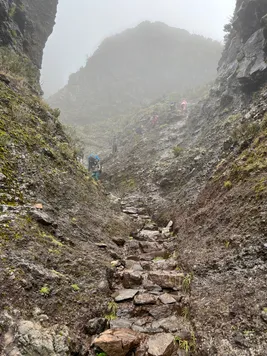
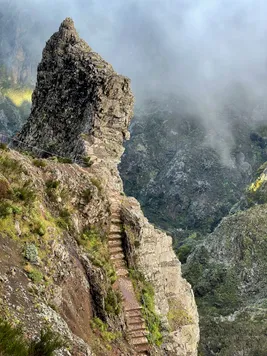
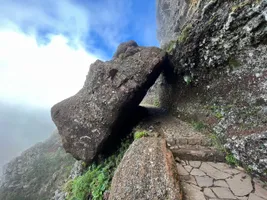
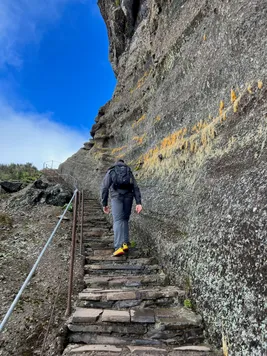
Besides the breath-taking landscapes, the trail also impresses through the hard work that the locals put into making it. This trail wouldn’t have been possible to hike without the tunnels dug into the mountains. Personally, as a person with height vertigo, I’m not sure I would have managed to do the trail without all those handrails. Not to mention that the trail is mostly paved and we were not expecting so many steps along the way. Don’t be deceived, the trail is anything BUT easy.
Before we go any further, we strongly recommend you to read our article about things you should know about hiking in Madeira:
 Travelfoss
PR1 Hiking Difficulty
PR1 is a very challenging hike, mostly because it has an elevation gain of more than 1km (0.65 miles). This basically means more than 1km of vertical ascend.
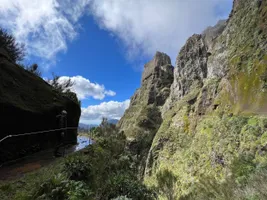
There are some portions of the trail a bit more exposed. However, there is a handrail everywhere. I have some mild height vertigo, and I felt a bit uneased by the heights, but I personally had no issues with vertigo. You know yourself better than anyone else, so use good judgement for this trail based on what you feel.
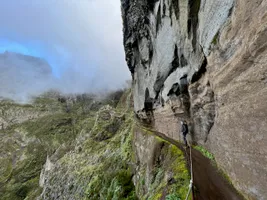
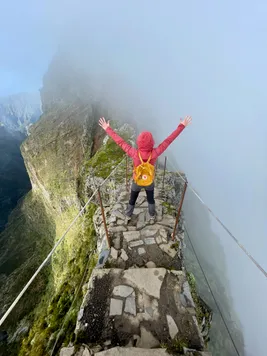
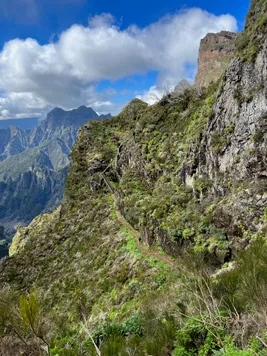
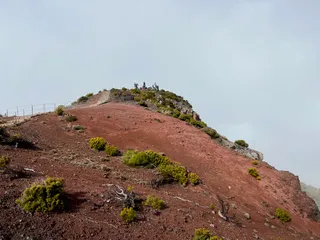
There are also some metal, long stairs going up on the trail that might not be easy on those with height vertigo. There is one such area in the third photo above. I know it is hard to notice and to judge based on this photo, but it is the best we have. These stairs are usually crowded because people have to wait for one another to pass.
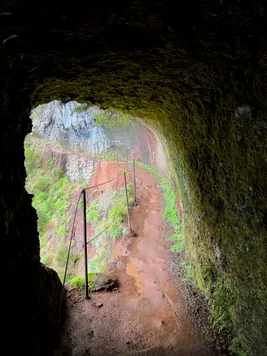
There are a few tunnels on the trail, not very long, but long enough for you to need some light. Your phone can help you if you have enough battery. However, using a head lamp is a far more superior option in terms of light intensity and freeing your hands so that you can take photos, film or do whatever you want.
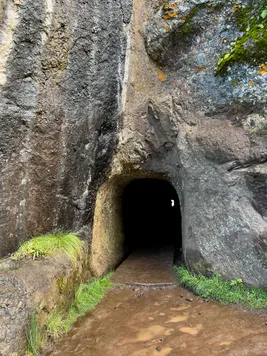
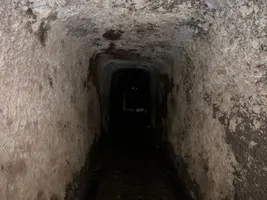
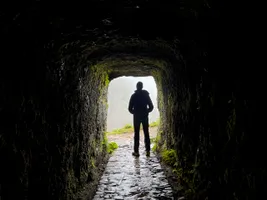
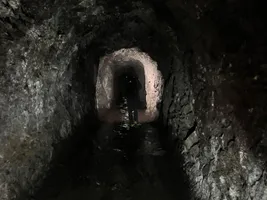
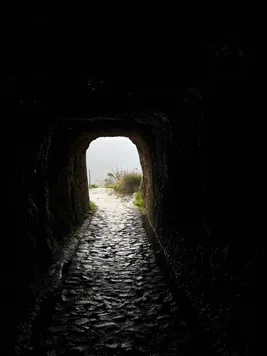
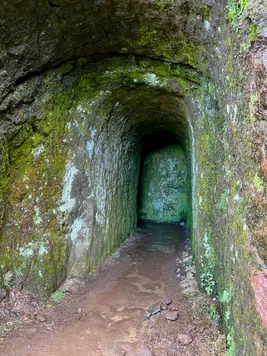
As you can see in the photos below, the PR1 hike is not an easy one and my heart rate values are a proof for that.
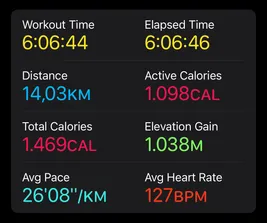
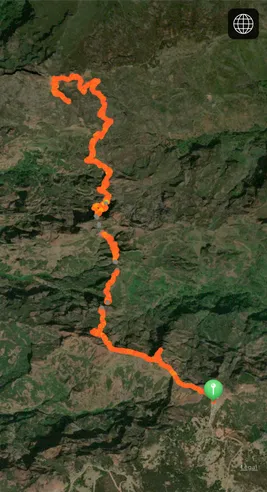
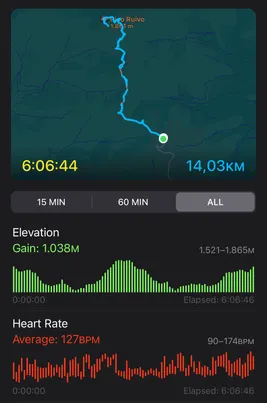
For the most part of the trail you will be hiking on rocks, probably wet rocks, which can be slippery. Make sure you wear sturdy shoes with very good grip. Depending on the season, and the weather, there might even be some muddy areas where you can get wet. Therefore, waterproof shoes are highly recommended.
Pico do Arieiro Weather
Madeira is a hiking destination year-round. However, in the winter months, you will feel that it is winter. Temperatures are usually around 0°C (32°F), it is mostly foggy, windy, rainy, and it sometimes snows. If you are planning your trip in the winter months, then pack your cold weather hiking gear.
 Travelfoss
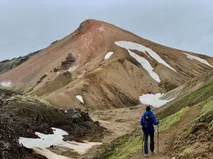
We recommend that you check the weather forecast at Pico do Arieiro in advance. If you decide to go, make sure that you are prepared for it, and keep in mind that weather can change quickly at high altitude. We found the most accurate weather forecast for this hike at https://www.mountain-forecast.com/.
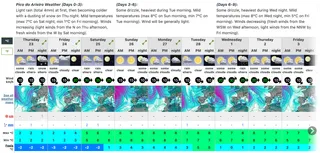
We visited Madeira between January 14 and February 5. During this time we’ve been checking the weather conditions daily, and we had to wait for the last few days of our trip to attempt a hike on the PR1 trail. Besides thick fog, clouds, rain, and snow, the wind had a speed of over 30km/h daily, except for February 3. I would have still liked a bit less fog on the trail, but I’m extremely happy with the conditions we had on the trail at 3°C (37°F).
To be entirely honest, we didn’t know that the temperatures can go so low anywhere on Madeira. We did not know where to look for an accurate weather forecast before coming to this island. I hope that our articles about Madeira here, on Travelfoss, will help you to not repeat our mistake and come prepared.
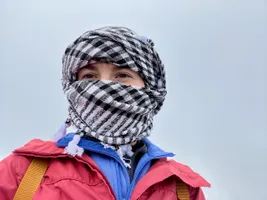
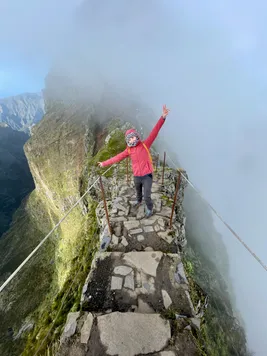
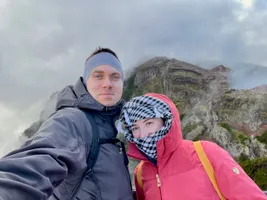
We didn’t have enough cold weather gear in order to protect both our heads and necks. Luckily, I had a scarf from Egypt with me. I find it very versatile, and I took it just in case because we had plenty of empty space in our luggage. By wrapping it around my head in an arabic style, I managed to cover my head, face and neck. It was a bit weird and everybody was staring at me (for a good reason), but at least I was warm and comfortable all the way.
More About The PR1 Trail
As you probably noticed from the map above, we did the PR1 trail out-and-back. Although there are some way to combine PR1 with other trails for an one-way hike. We don’t regret it as the environmental conditions oscillated during the hike, constantly changing the landscapes.
The hike starts relatively easy, following a paved trail with steps going down. You get absorbed by the scenery and forget that what goes down must come up.

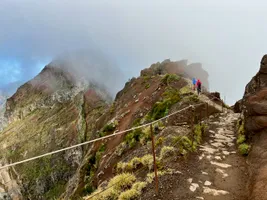
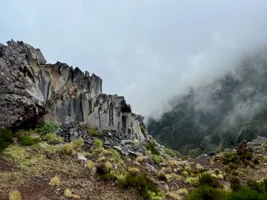
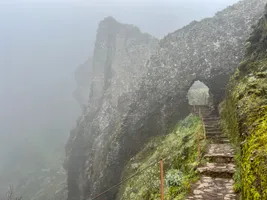
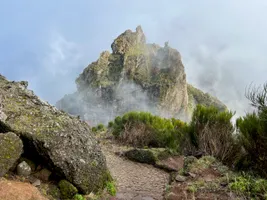
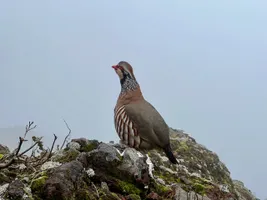
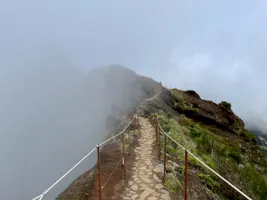
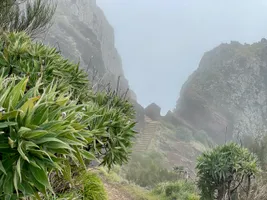
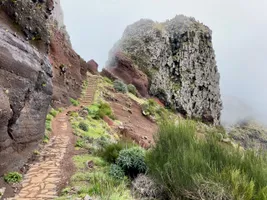
Along the PR1 hike you will encounter this out-of-this-world place that looks like a phantom forest. It’s a place full of white tree skeletons. That forest is there as a testimony of one of the biggest wildfires in Madeira. It was once a real forest that burned in its entirety. The vegetation already started to regenerate, but it takes years for the trees to grow as big as the burnt ones. We loved the fog because it amplified the mystical appearance of the forest.
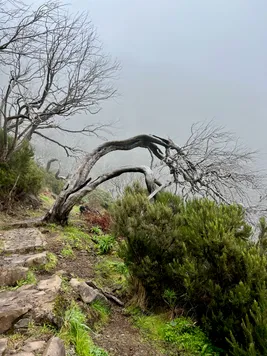
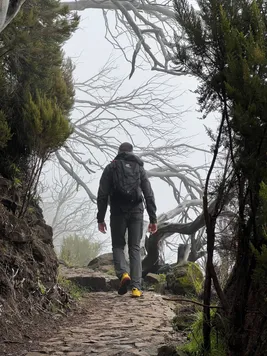
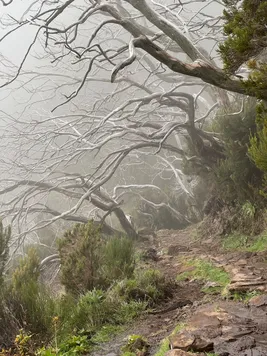
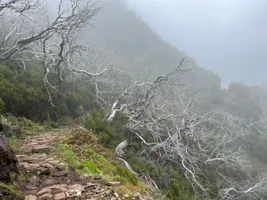
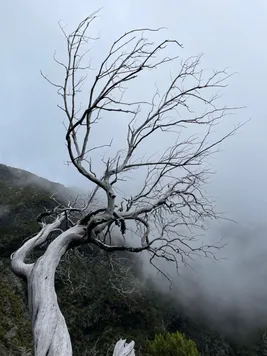
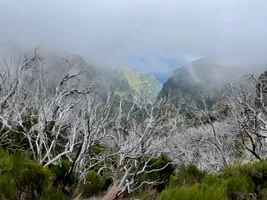
Unfortunately, it was all foggy when we got to Pico Ruivo and we were not able to have any views and take photos. We only had a lunch break, but the wind didn’t allowed us stay there too long. You know the saying: it’s about the journey and not the destination. I couldn’t describe our experience better than this.
Combine PR1 With Other Trails
You can do the PR1 hike out-and-back like we did, or you can combine it with other trails. However, this will turn your hike in a one-way hike. If you have a rented car, then you would need to arrange your transportation between the start and the end of the hike. There are several options for this: use 2 rented cars, take a taxi, arrange with a local or take the bus.
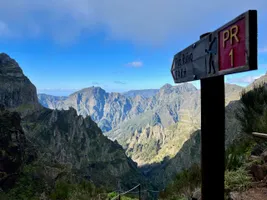
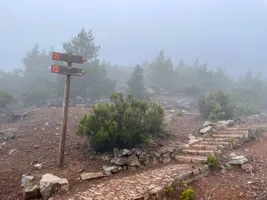
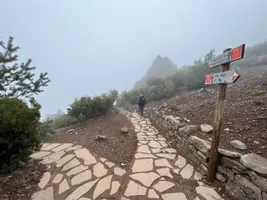
- Combine PR1 with PR1.2 and end the hike in Teixeira. You will need to arrange for your transportation between Teixeira and Pico Do Arieiro parking. This combination will shorten the hike a bit compared to the out-and-back version and will also reduce the elevation gain.
- Combine PR1 with PR1.1 and start or end the hike in Ilha, in the Northern part of the island. Besides arranging for you transportation, note that the hike is harder this way. If you start the hike in Ilha, then you will have an elevation gain of almost 1.5km to Pico Ruivo. From Pico Ruivo to Pico do Arieiro there is another 0.5km elevation gain. Therefore, you might want to start the hike at Pico do Arieiro, but even so the hike would bee extremely challenging. We recommend PR1.1 alone or in combination with PR1.2, but not PR1.
- Combine PR1 with PR1.3, and start or end the hike in Encumeada. Don’t forget that you will have to arrange your transportation. We would recommend to start this hike at Pico do Arieiro and end it in Encumeada. Otherwise you will have a higher elevation gain to deal with.
The Hiking Gear You Need
As enthusiast hikers, there’s no better way to observe and admire nature than a hike. However, the thrill of a hike can be ruined if you don’t have the proper gear with you. For this we made a special article about the gear you need on every hike.
 Travelfoss
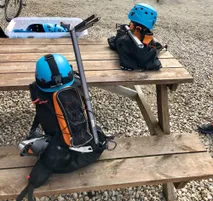
And if you are going to Madeira in the winter season, then don’t forget the cold weather gear.
 Travelfoss
We hope you find this information useful and that you are now more prepared, at least theoretically, for the PR1 hike than we were.
If you’re planning a trip to Madeira and you are looking for more ideas, hikes and awe-inspiring places and experiences, then check out our other articles about this destination:
 Travelfoss
It takes a lot of planning for the perfect trip, but packing can sometimes be frustrating. Either packing too many things or packing too few can ruin a bit of the fun. We've perfected our travel packing checklist over the years, and we believe it will be of good use for you too. We also have some travel packing tips & tricks to share to save you the hustle we once had.
Related Travel Articles
Writing free, independent and personal travel content since 2021. If you appreciate what we do, then you can return the favor by using the affiliate links below.
- Get your accommodations on Booking.com
- Buy your gear and gadgets from Amazon
- Book flights using Expedia
- Book activities on Get Your Guide
- Book guided trips on G Adventures
Writing free, independent and personal travel content since 2021. If you appreciate what we do, then you can return the favor by using the affiliate links below with no cost for you.
